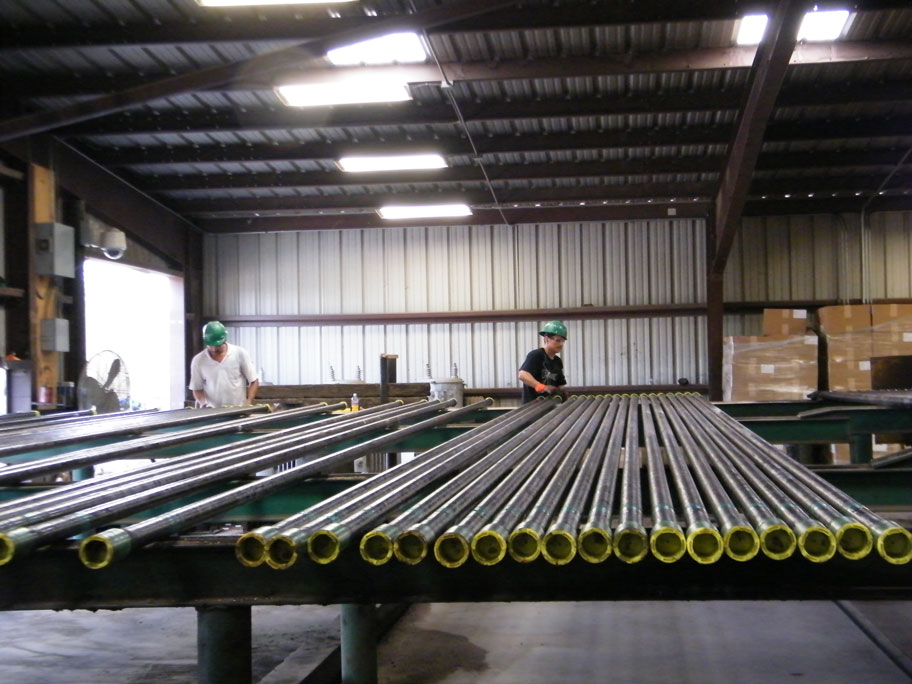
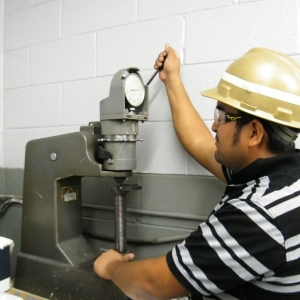
 Tubular Services is committed to our quality assurance program and was one of the first end finishers to qualify under the A.P.I. Q-1 program. TSI ensures that all phases of production are in compliance with A-1 program requirements by performing various inspection techniques.
A visual inspection of the upset is made on every joint to check for wrinkles, underfill and punch scores. Each upset end is also hot drifted approximately one foot from ends to check for heavy wall or gripper squeeze.
On a periodic basis, Quality Control Auditors will verify upset dimensions and perform visual inspections of fin grinding techniques.
The temperature of heat-treated pipe is monitored by computer sensors and audited during the shift by quality control personnel.
Each joint of threaded pipe is visually inspected and given at least one-dimensional inspection using thread gauges. Lead, taper, thread height, thread length and stand off are checked in a sequential basis. If deviations to A.P.I. standards are found, the previous four joints produced will also be checked.
Coupling make-up on every joint is verified for torque and dimensional specifications. Full-length drift is completed after coupling make-up.
Tubular Services is committed to the highest level of quality assurance.


